Step 1: Set up
First of all, we grant you and your team members access to a secure online environment in which you find the tools of the NovuDialog platform.
Before you start building a dialog, it is very important that you know which information you want to collect in this dialog.
Building complex dialogs with many different options and dynamic questions, while still keeping it user-friendly, is a challenge.
Use NovuDialog's templates or let a designer create a custom interaction design (wireframe) for you.
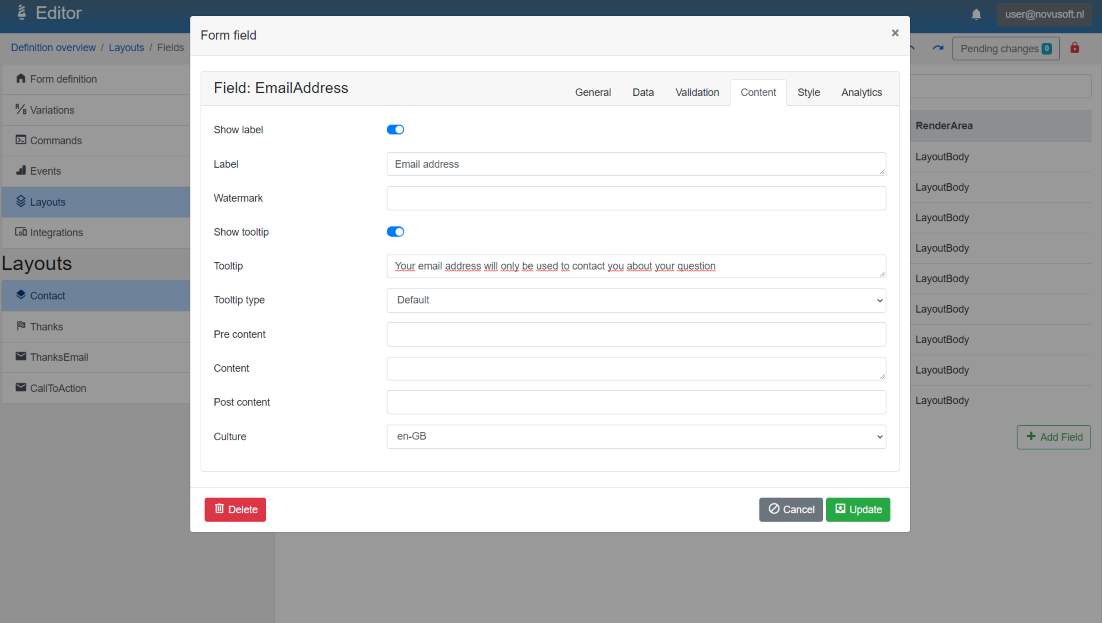
Step 2: Create
Quickly develop a fast, measurable and dynamic dialog, using the out-of-the-box controls and tools of the NovuDialog platform.
Connect each question in the dialog to a field in your data model, in order to be able to store the data you collect properly.
Developers use .NET Core to build advanced customizations in an isolated project.
Here they can, for example, create connections between your dialog and external services with commands. Call a command wherever you want in the dialog.
Customize the dialog design to match your corporate identity and create advanced PDF files and emails, which include the collected data.
Step 3: Release
Your dialog is ready for production. Get your dialog integration code and easily integrate it into the website, app or chatbot you want.
Be up and running in no-time.
Integrating the dialog into multiple websites is easy. Specify integration options to set up the dialog variant you want.
Easily connect to a specific agent or show a promotion.
Just copy one line of code and integrate the dialog anywhere!